
 The benefit: You can use butter at higher temps without burning.
Ghee (clarified butter) is very (very) simple to make
To start, I do want to recognize that in the purist definitions there are nuances between clarified butter and tradition ghee. These exceptions are particularly important to Ayurvedic medicine and Asian religions that put sacred properties on ghee depending on how it was produced.
However, in more common applications with cooking the two are largely used interchangeably. The reason clarifying butter is so beneficial to cooking and worth having in your whole foods-based kitchen is that the process removes the water and protein solids in butter allowing it to be cooked at higher temps without browning or burning. Ghee (clarified butter) adds tremendous flavor to stir-fried vegetables and other dishes (I use ghee here in my recipe using leek tops). Even the smallest amounts will contribute significant flavor. More flavor with less fat in cooking is a good thing. Ghee is HEAVENLY with garlic and turmeric in ANYTHING!
Ghee and clarified butter can be expensive to buy pre-made and hard to find. The solution: make it in your own kitchen.
Print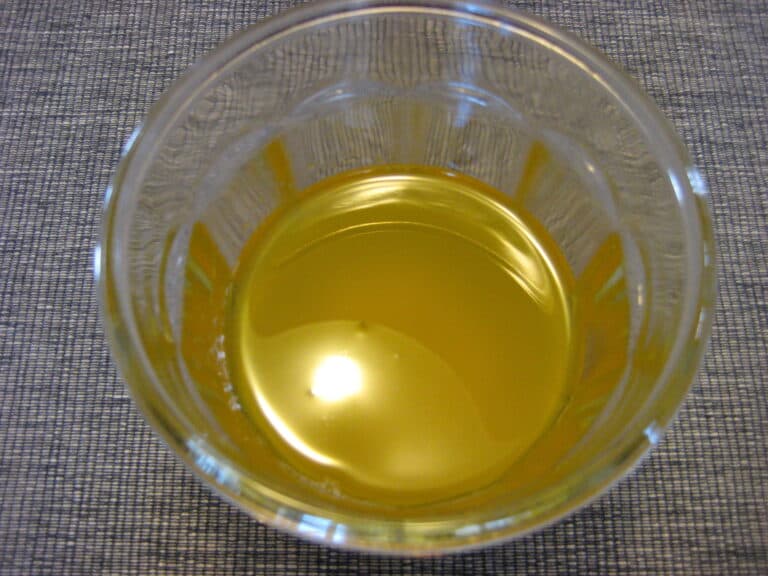
Ghee (Clarified Butter)
- Total Time: 15 minutes
- Yield: 48 1x
Ingredients
- 3 sticks of unsalted butter
Instructions
- Put butter in small saucepan over medium-low heat
- As it heats you’ll hear ‘popping’ as the water dissipates out of the butter. Remove the proteins (white solids) on top with spoon as they form (pictured in top left)
- Once no more water is released or proteins form (after about 15 min), remove from heat and allow to cool for about 20 minutes before transfer to glass storage container
- Store, covered, in refrigerator up to 2 months
Notes
- Both salted and unsalted butter works for this; if you do use salted, the salt will be carried out with the protein solids (you can test this by tasting them!).
- Do stay in the kitchen as you make this and watch your burner temp so it doesn’t heat too quickly.
- And no need to be fussy with getting each speck of protein solids scooped out as they form. Get the majority at the beginning and then you’ll notice that the smaller ones will actually brown and settle to the bottom of your pan. Then, when you carefully pour the liquid into the glass container, those solids will remain happily at the bottom of the pan.
- Prep Time: 0 minutes
- Cook Time: 15 minutes
Nutrition
- Serving Size: 1 tsp
- Calories: 50
- Sugar: 0g
- Sodium: 0mg
- Fat: 5g
- Saturated Fat: 3g
- Unsaturated Fat: 1g
- Trans Fat: 0g
- Carbohydrates: 0g
- Fiber: 0g
- Protein: 0g
- Cholesterol: 15mg
